Up and running in 9 steps
This guide takes you all the way through setup once: from creating your account to the moment Mia picks up your first real call. Plan for about 15–20 minutes.
Step 1 — Create your account
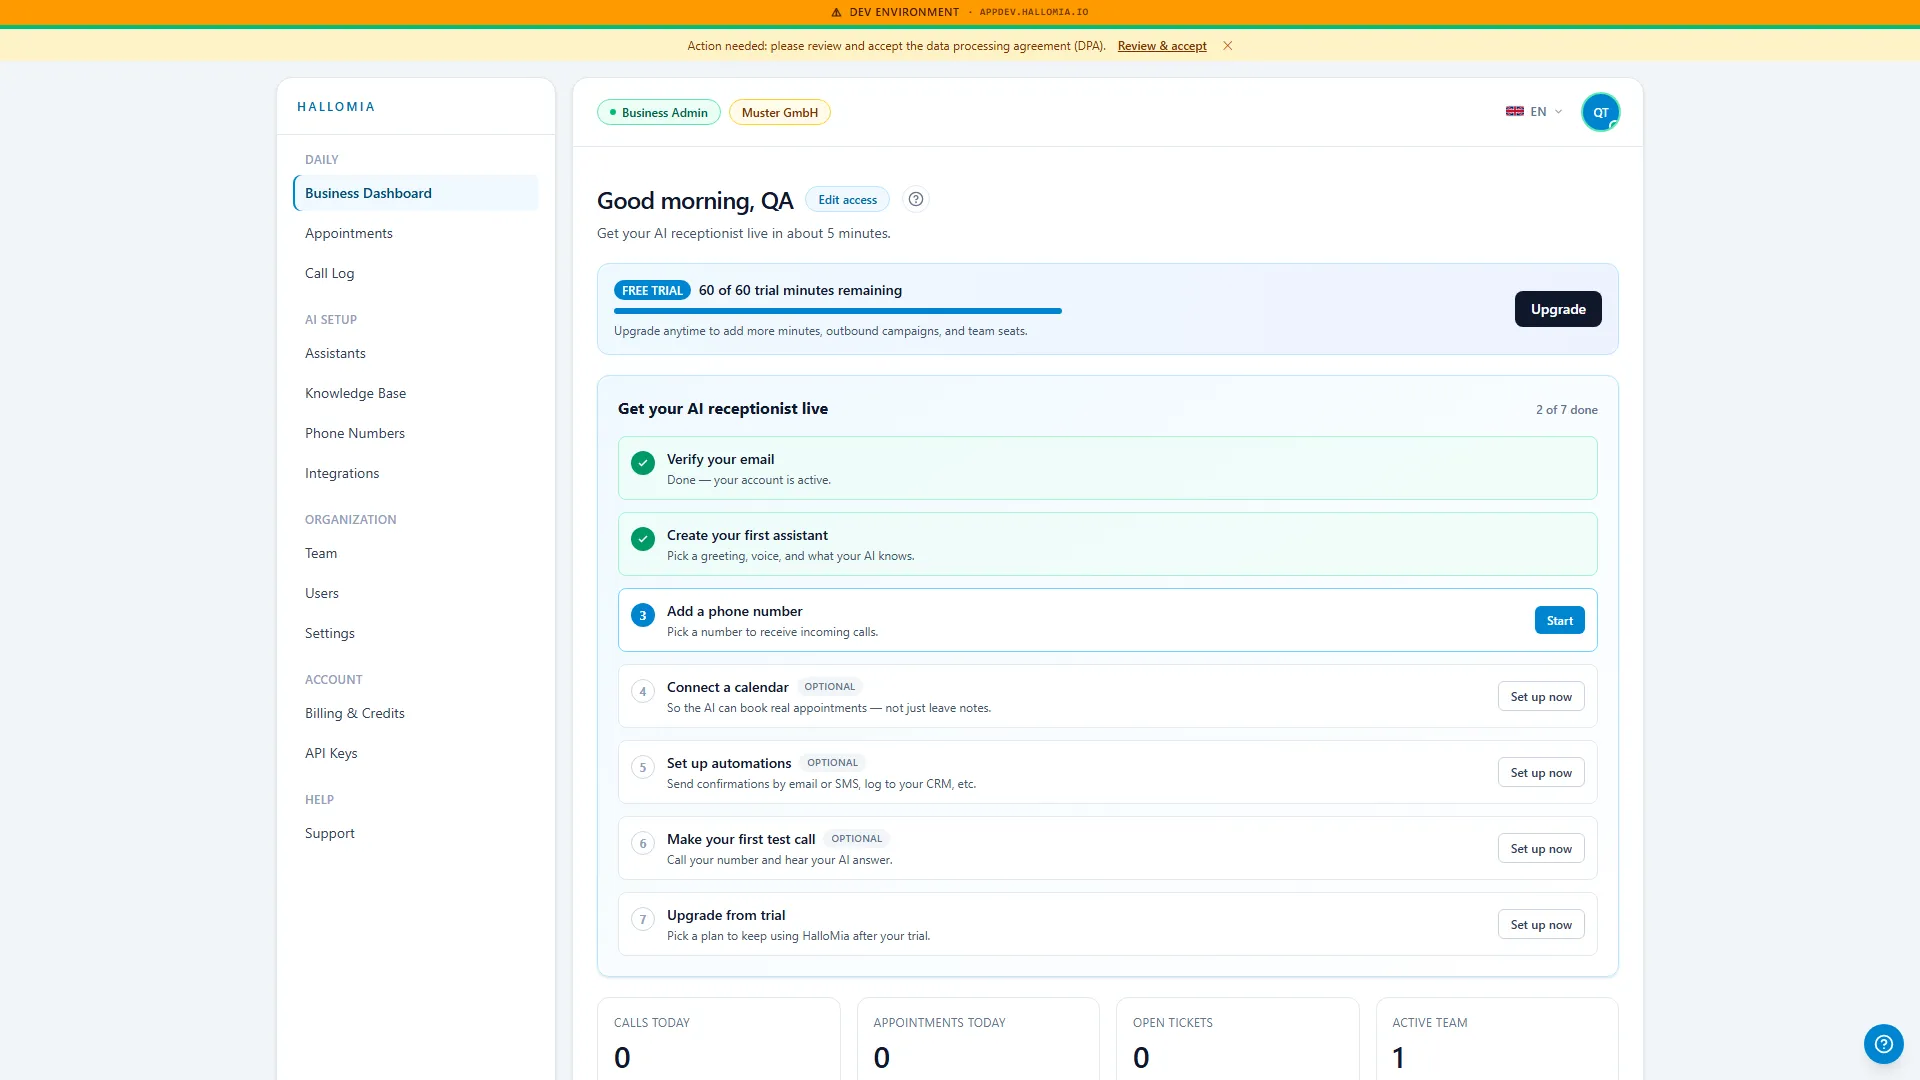
Section titled “Step 1 — Create your account”Sign up at app.hallomia.io/signup with your business email address. After confirming it, you land straight in the dashboard.
Step 2 — Create an assistant (Quick-Start)
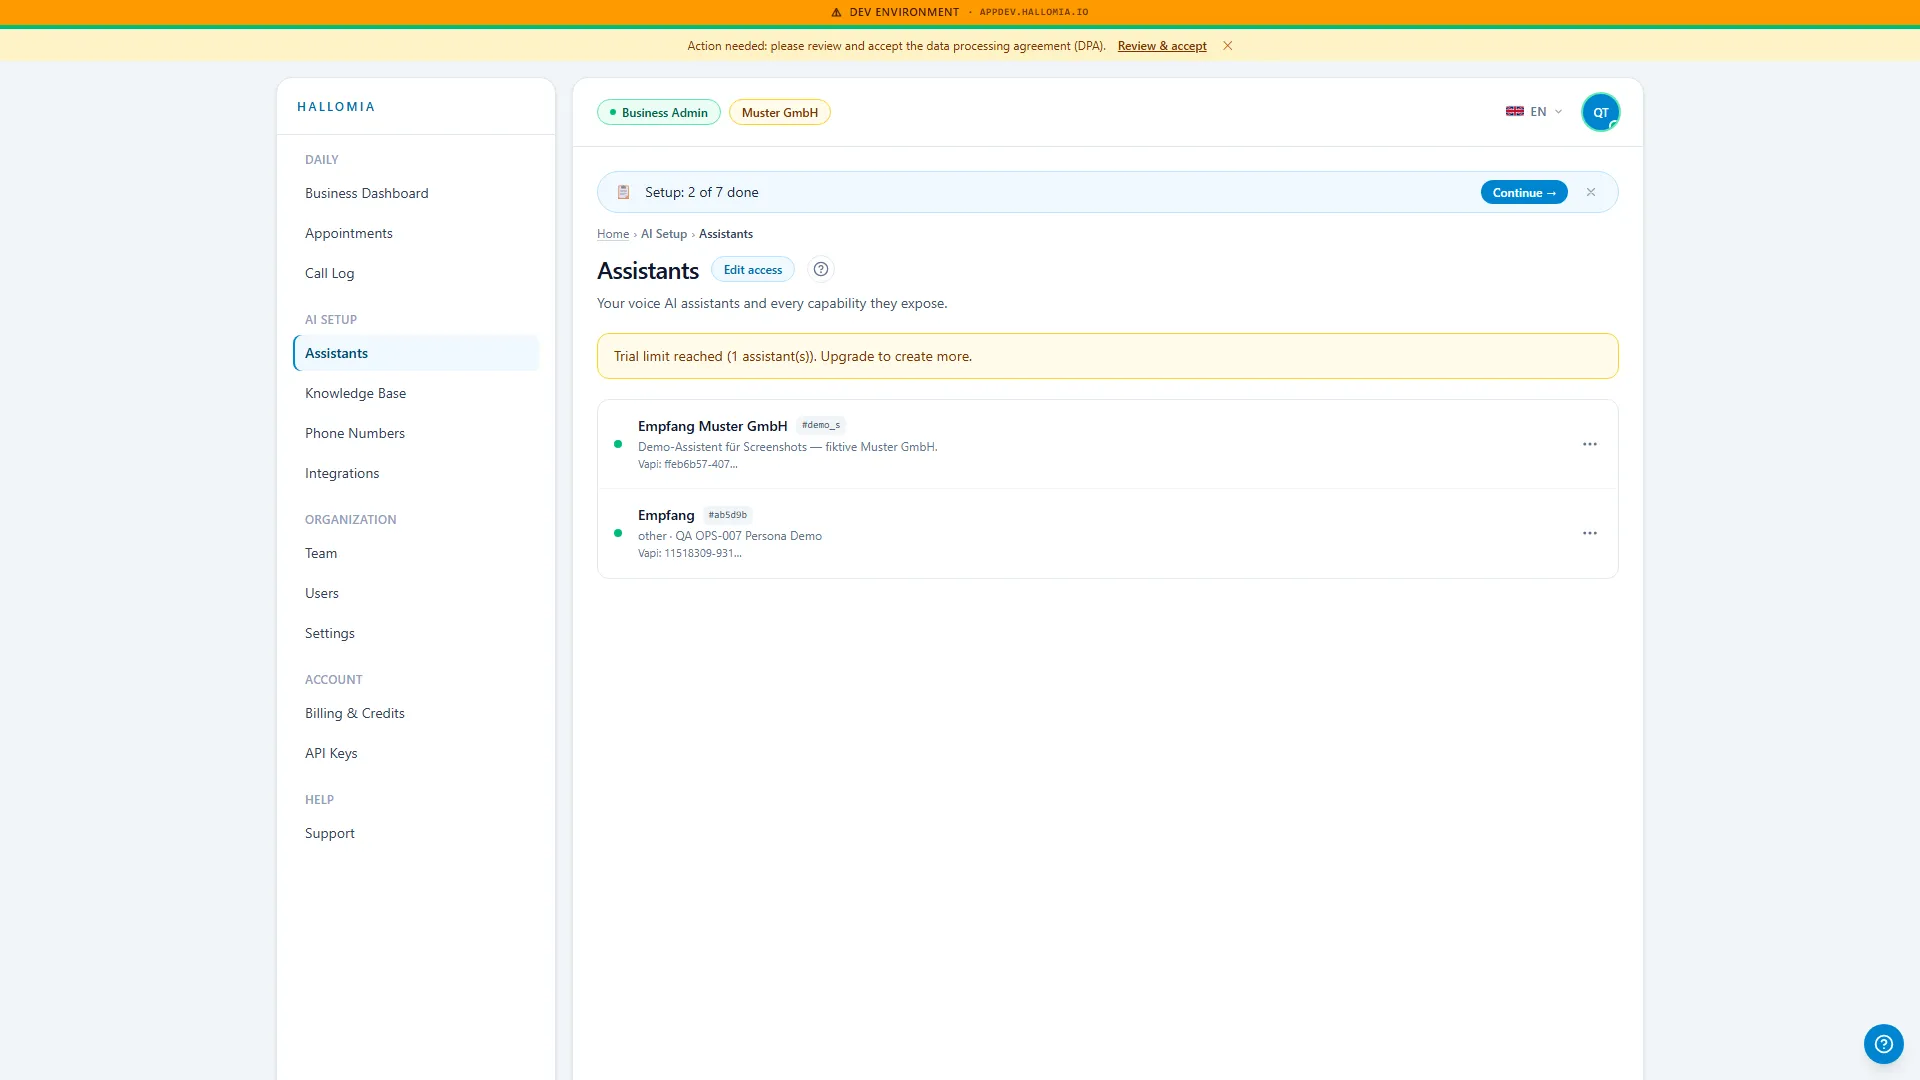
Section titled “Step 2 — Create an assistant (Quick-Start)”Open Assistants and choose Quick-Start. You answer just a few questions — industry, assistant name, preferred tone — and HalloMia assembles the right conversation guide from them.
Step 3 — Let it analyse your website
Section titled “Step 3 — Let it analyse your website”Enter your website address in the Quick-Start. HalloMia reads out your opening hours, services and frequently asked questions and answers them correctly on the phone.
Step 4 — Test call in the browser
Section titled “Step 4 — Test call in the browser”On the assistant page you’ll find ▶ Test call: you speak with your assistant directly in the browser, without any phone number. The transcript appears live alongside it.
Step 5 — Add a phone number
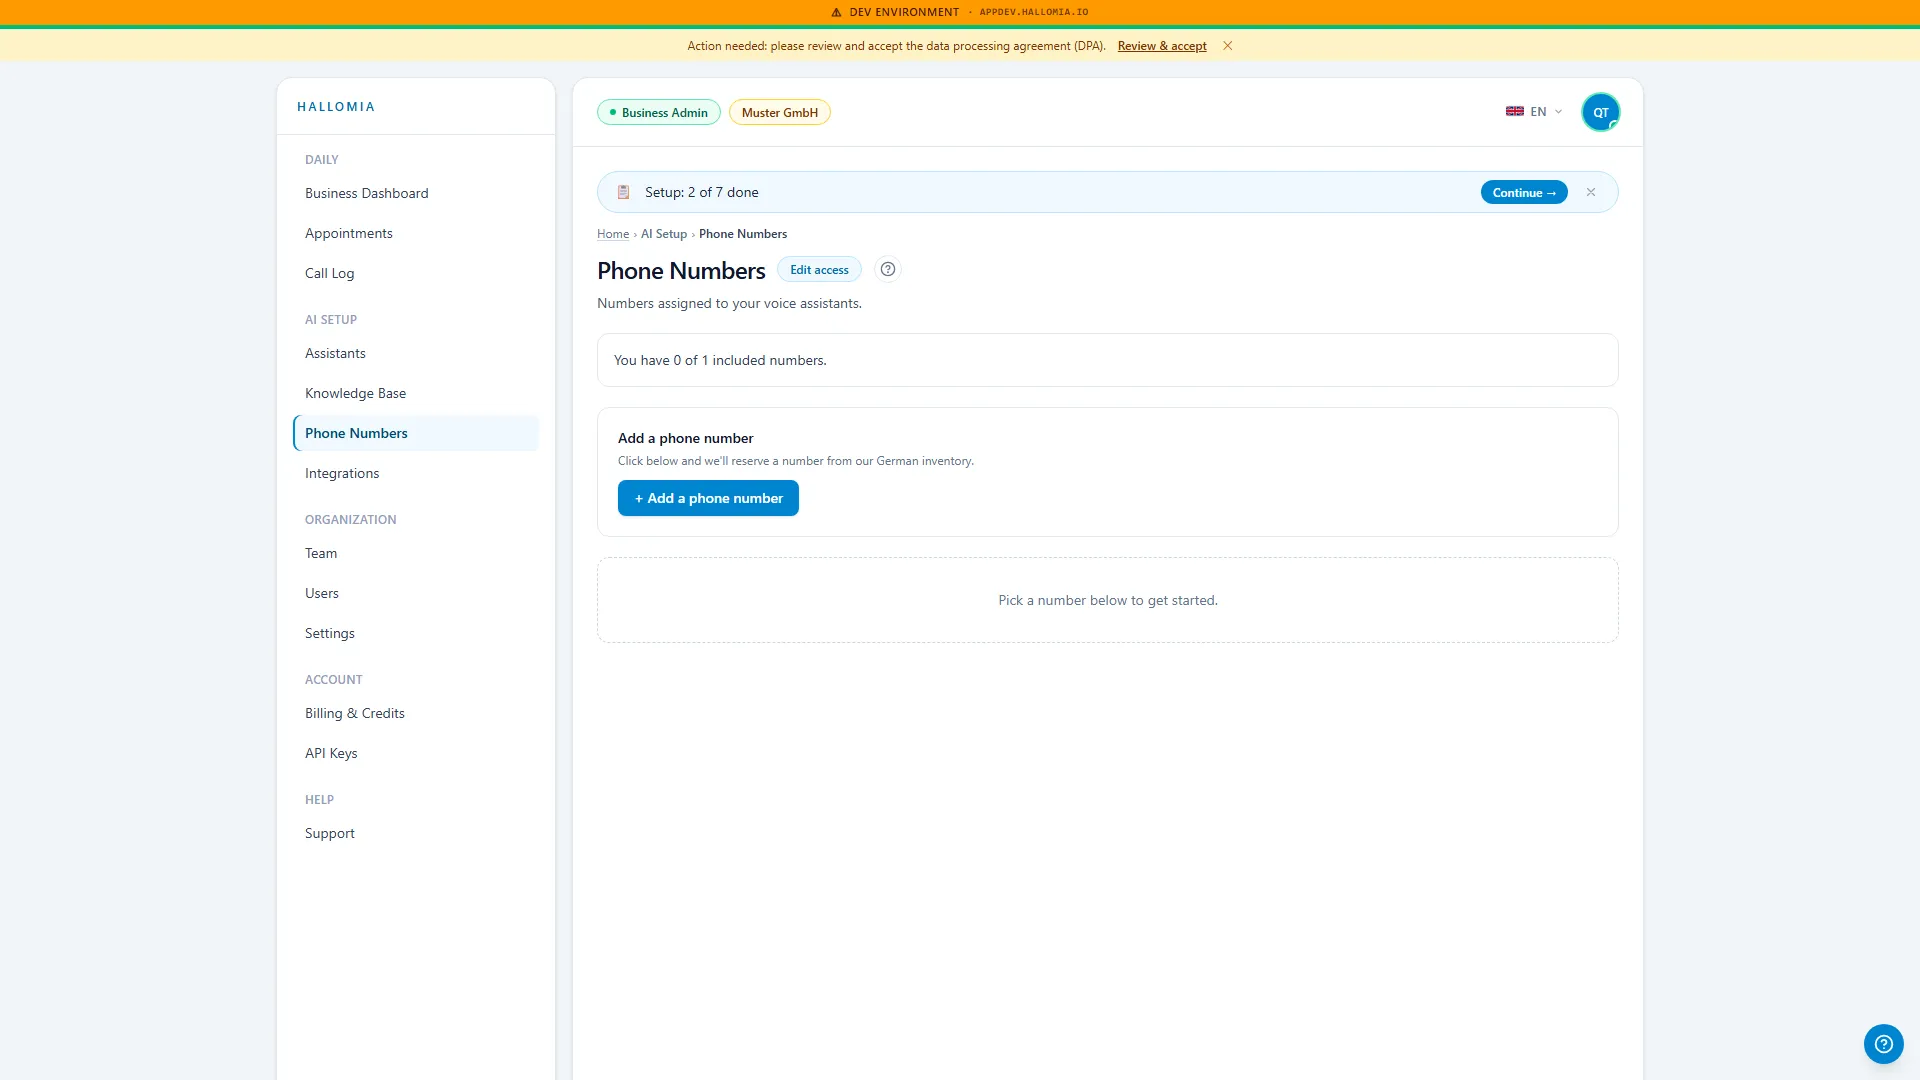
Section titled “Step 5 — Add a phone number”Under Phone numbers, one click on “Add number” reserves a German phone number for you from our pool. During the trial period one number is included.
Step 6 — Complete your customer details
Section titled “Step 6 — Complete your customer details”After the reservation the number is initially reserved: German telecommunications law requires verified customer details (subscriber data) before a phone number may be permanently active. Open Settings → Customer details, fill in the short form — and your number is fully activated right away.
Step 7 — Review calls and transcripts
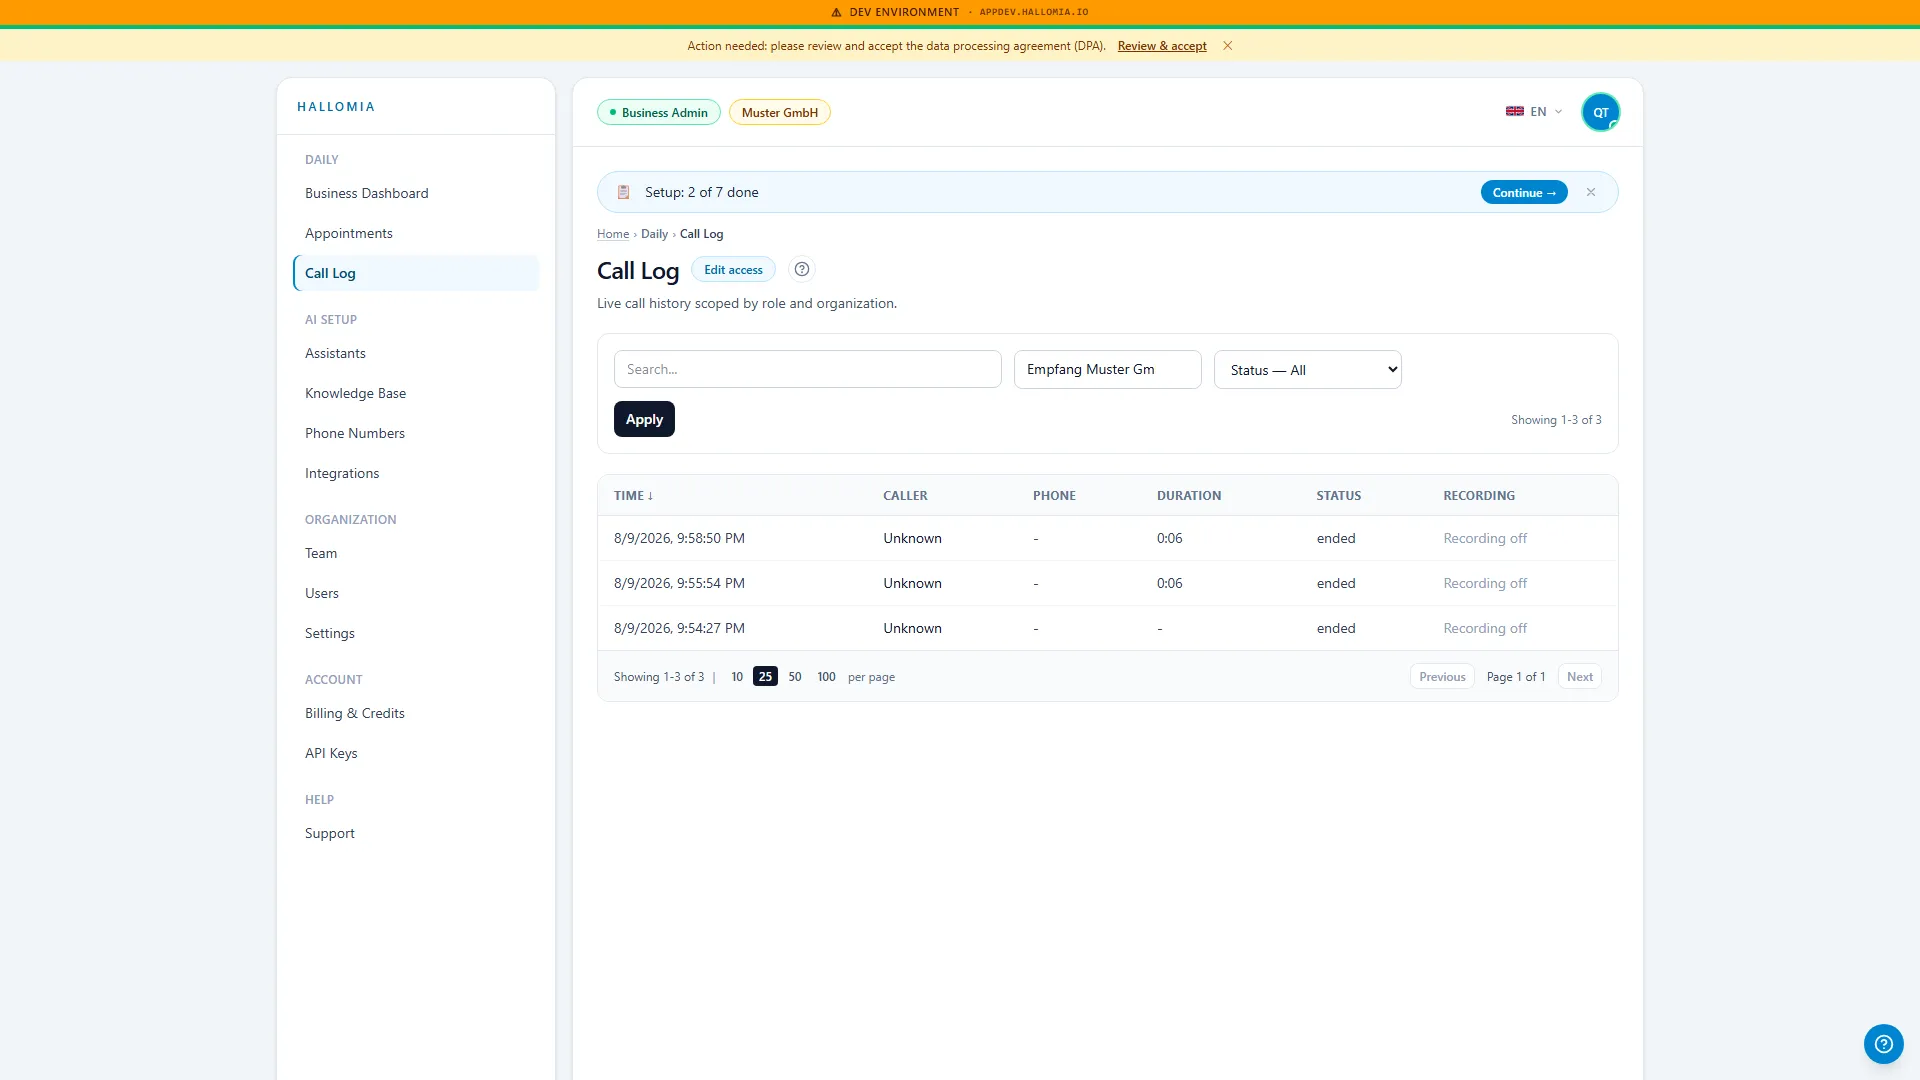
Section titled “Step 7 — Review calls and transcripts”Every call lands in the Call log: caller, duration, summary, full transcript and the recording to listen back to.
Step 8 — Enable appointments and reservations
Section titled “Step 8 — Enable appointments and reservations”Should Mia take appointments or reservations? Enable appointment capture in the assistant settings. Restaurants receive reservation requests in a structured email; connected calendars are booked directly.
Step 9 — Inform your team
Section titled “Step 9 — Inform your team”Under the assistant actions, set up the summary email (or SMS): after every call your team receives the caller, their request and next steps — automatically.
That’s it. Mia now answers calls, responds to questions about your business and keeps your team in the loop. Questions? contact@hallomia.io.